
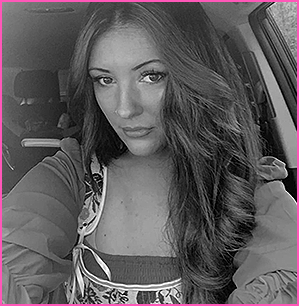
 Hi! Welcome to PixelFox, My name is Maggie, I'm a 29 year old Mama of 3! I've been in the world of design since i was about 12 years old, this has ALWAYS been a passion of mine, & now its also my way of making money! I've decided to now share some of my knowledge of photoshop with all of you so that you can start making your OWN designs for shirts/cups/etc. while i know most people use canva for designs, you are very limited to what you can do! with photoshop the possibilities are endless, so stay tuned for ALL kinds of tutorials, from the basics ALL the way up to a PRO.xoxo


 ✿ Owner: Maggie
Preppy text tutorial
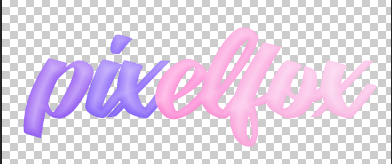
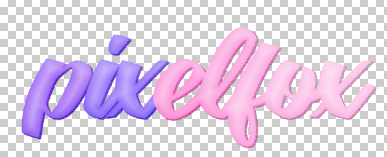
please check out this tutorial before you proceed with this one! you will need to know the basics first! Now that you've got your text typed out, you want to have a color scheme in your swatches ready for use (go look at my "choosing color schemes" tutorial for how that process works,click here for the color scheme we will be using for this tutorial! SAVE IT, and open it in photoshop & follow the choosing color schemes tutorial, as well as the "coloring text" tutorial! Now that you have the basics, and you've colored your text, you should have this...
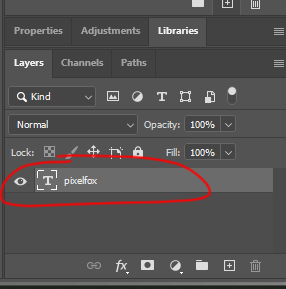
Now go to your layers, & double click your text layer (see below for where to click
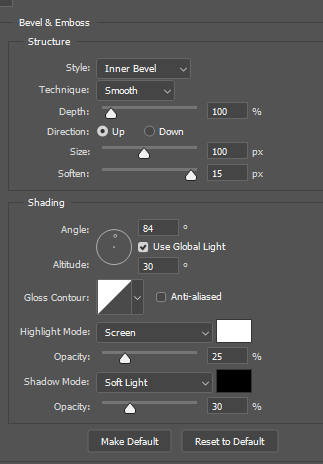
After double clicking, a "layer style" box will pop up, click on "Bevel & Emboss" & match your settings to mine!
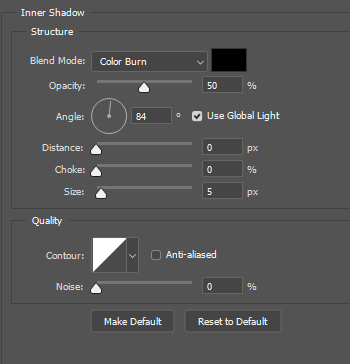
Now click inner shadow & match your settings to mine
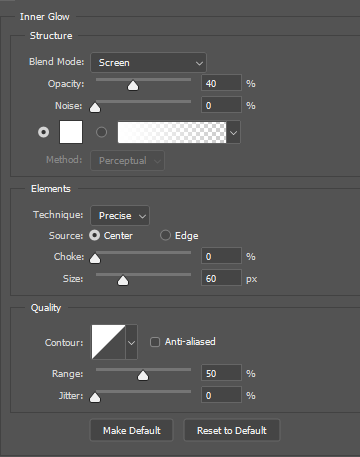
Now click inner glow & match your settings to mine
This is what you should have so far
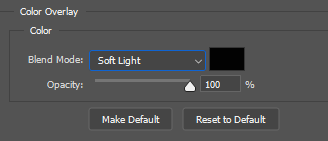
Now go over to your layers, right click on your text layer (the only layer you should even have) Right click & click "DUPLICATE LAYER", now you should have 2 layers, double click the bottom layer, when the layer style box pops up, go to "color overlay" & match your settings to mine.
Now youre going to choose your "move tool" in your toolbar, pictured below

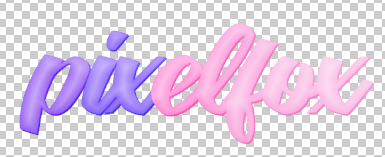
be sure you're still on the bottom layer, press your down key once & your right > key one time, you should have this..
Duplicate the bottom layer by right clicking on it and clicking duplicate layer
You should have 3 layers now.
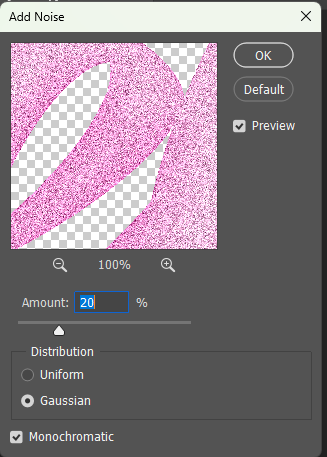
On the middle layer, add glitter by clicking "Filter >> Noise >> Add Noise" >> match your settings to mine.
I have this now
Now go click your move tool in your toolbar again, select your very bottom layer, go back to your text & move it down 1 time & to the right 2 times using your arrow keys. you should have this when done..
Duplicate the bottom layer by right clicking > duplicated layer. You should have 4 text layers now. On the VERY BOTTOM layer, change the color overlay settings to normal and make the color a light grey tone like #eaeaea. Move it to the right 2 and down 2. you should have this..

Create 4 new blank layers. Now you'll have 4 of the text layers + 4 brand new blank layers, so 8 layers total.
Merge 1 new layer with each text layer. (one new layer under each TEXT LAYER, then go to each text layer, right click & click "merge down)
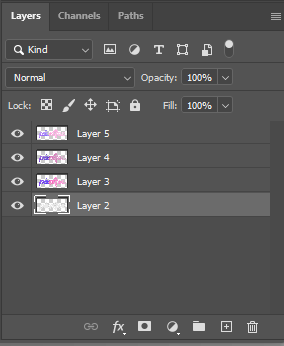
You should have 4 layers again.
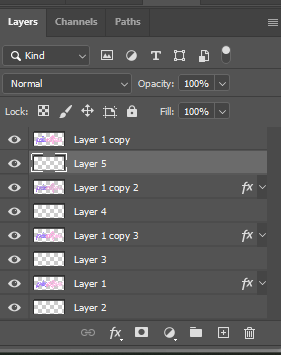
Here's my layers before and after:
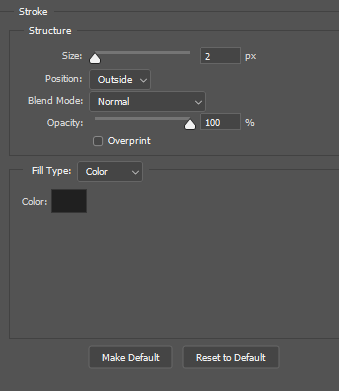
Now Merge all 4 layers together by going to the very top layer, selecting it, right click > merge visible. You should have 1 layer now. Now double click that layer, a box called "layer style" should pop up, match your settings to mine..
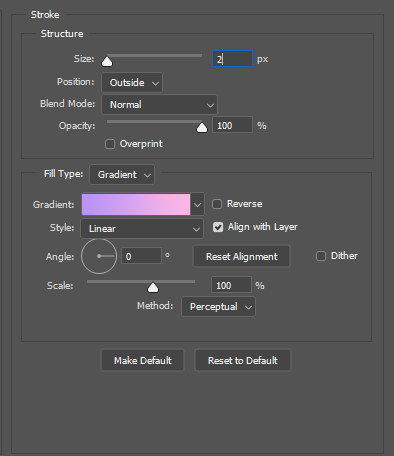
Now Create a new layer. Merge it with the text layer. (by clicking the little addition sign at the bottom of your layers panel) then once that layer is created, drag it underneath your text layer, click on your text layer, right click > merge down. & you should only have one layer, now double click your layer, & when the layer style box pops up, click stroke, this time you're going to add a GRADIENT stroke instead of a solid color. So where it says "fill type" change that from color to "gradient" and then click on the gradient and change the colors to your fonts colors. your settings should look Like mine below..
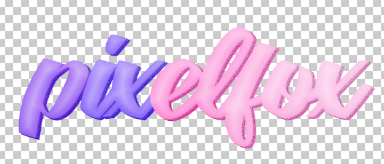
& you are done! here is my finished product! it seems like so much work, but trust me, once you get the hang of layers and how they work, it is truly a breeze!